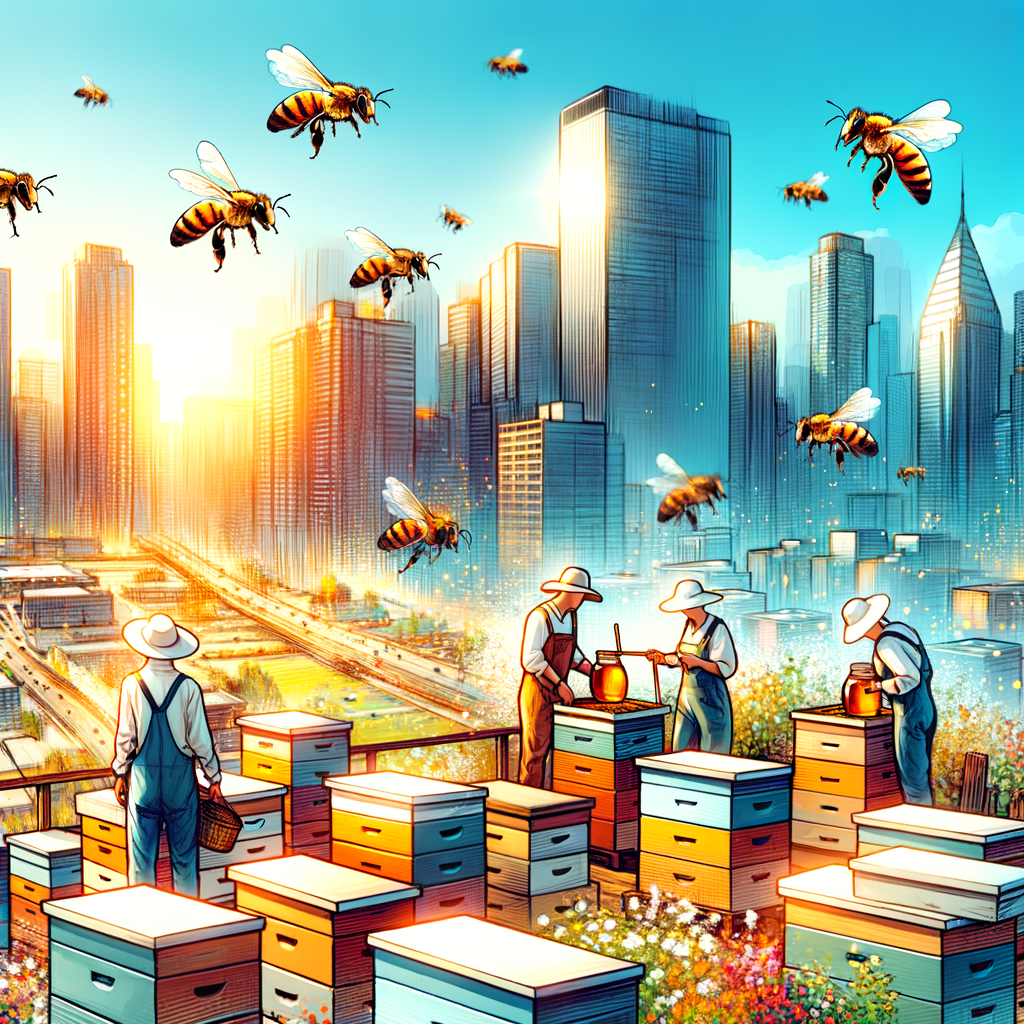
Introduction to DIY Beekeeping
Welcome to the fascinating world of DIY beekeeping! This hobby is not only rewarding but also contributes to the environment by supporting our essential pollinators – bees. Let’s start by understanding the basics of beekeeping and the importance of beekeeping equipment.
-
- Understanding the basics of beekeeping
Beekeeping, also known as apiculture, is the practice of maintaining bee colonies in man-made hives. This practice is done for various reasons, including honey production, pollination of nearby crops, and production of beeswax, propolis, and royal jelly. It’s a hobby that requires patience, learning, and a love for nature.
Bees are social insects living in colonies. Each colony consists of three types of bees: the queen, workers, and drones. The queen is the only bee that lays eggs, while worker bees, which are all female, do all the work. Drones, which are male bees, have only one job: to mate with the queen.
-
- Importance of beekeeping equipment
Just like any other hobby, beekeeping requires specific equipment. The basic beekeeping equipment includes a beehive, bee suit, gloves, bee smoker, and hive tool. Each piece of equipment plays a crucial role in the beekeeping process.
The beehive is the home for your bees, while the bee suit and gloves protect you from bee stings. The bee smoker is used to calm the bees when you are working on the hive, and the hive tool is used for various tasks, such as prying apart frames.
Having the right equipment not only makes the beekeeping process easier but also ensures the safety and health of your bees. Remember, a well-equipped beekeeper is a successful beekeeper!
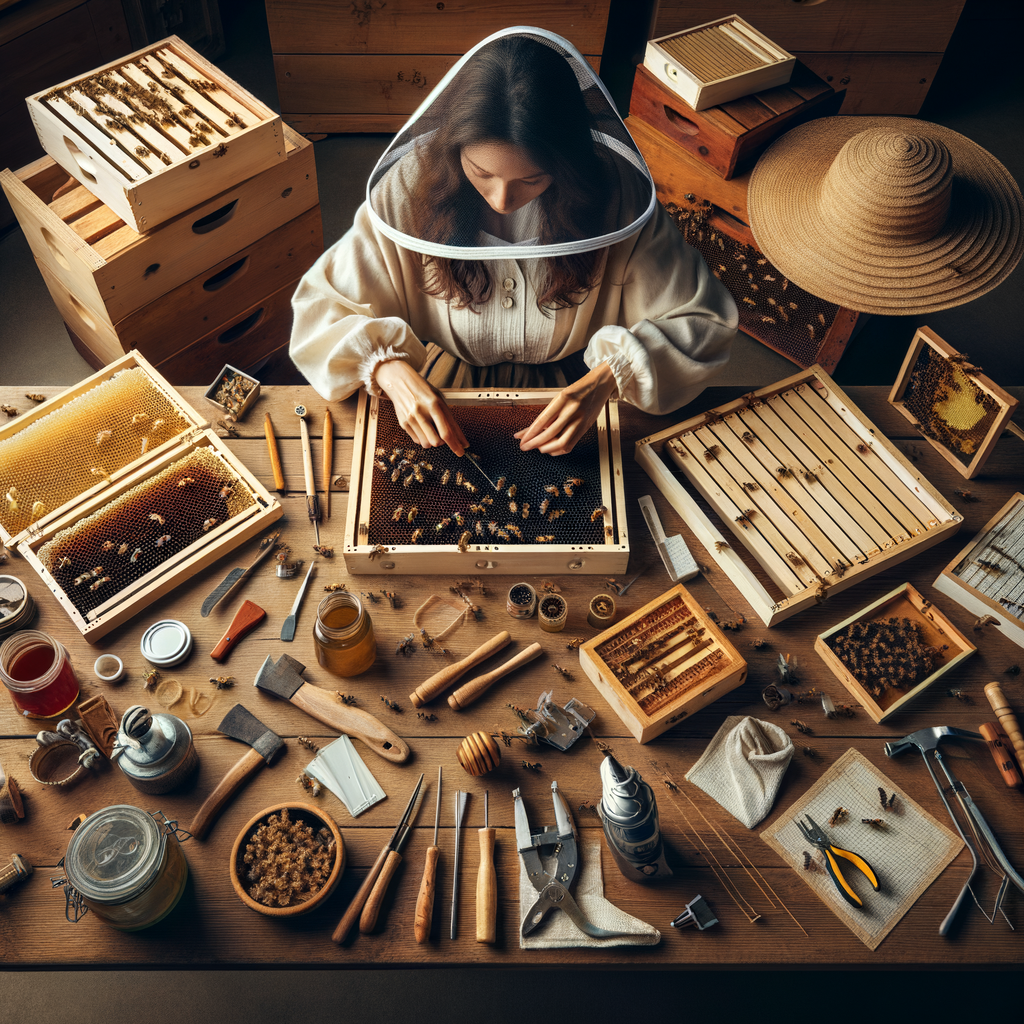
Beekeeping Tools and Supplies
When it comes to beekeeping, having the right tools can make all the difference. These tools not only make the job easier but also ensure the safety of both the beekeeper and the bees. Let’s take a look at some of the essential beekeeping tools you’ll need.
Essential Beekeeping Tools
There are several tools that every beekeeper should have in their arsenal. Here are three of the most important:
- Smoker:The smoker is a crucial tool in beekeeping. It produces smoke that calms the bees, making it safer for the beekeeper to handle the hive. The smoke interferes with the bees’ communication signals, reducing their defensive responses. This allows the beekeeper to inspect the hive or harvest honey with minimal disturbance to the bees.
- Hive tool:The hive tool is essentially the beekeeper’s multi-purpose tool. It is used for prying apart hive bodies and frames, scraping off excess propolis (a sticky substance bees use to seal cracks), and removing unwanted pests. Its versatility makes it an indispensable tool in beekeeping.
- Bee brush:A bee brush is a gentle way to move bees off of frames during inspections or honey harvesting. It has soft bristles to ensure the bees aren’t harmed. It’s a simple tool, but it’s very useful for managing your hive without upsetting your bees.
These are just a few of the essential tools needed for beekeeping. Each one plays a vital role in maintaining a healthy hive and ensuring a successful beekeeping experience. Remember, the right tools are key to effective beekeeping.
Beekeeping Supplies
When it comes to beekeeping, there are certain supplies that are absolutely essential for the safety and success of the beekeeper. These supplies include a bee suit, bee gloves, and a bee veil. Let’s take a closer look at each of these items.
- Bee SuitA bee suit is a full-body protective garment that is designed to protect the beekeeper from bee stings. It is typically made from thick, durable material that bees cannot penetrate. The suit also includes a hood and veil to protect the face and neck. It is important to note that not all bee suits are created equal, and it is crucial to invest in a high-quality suit that offers maximum protection.
- Bee GlovesBee gloves are another important part of a beekeeper’s protective gear. These gloves are designed to protect the hands and arms from bee stings. They are typically made from leather or other thick material and extend up to the elbow for added protection. Like the bee suit, it is important to choose high-quality gloves that offer the best protection.
- Bee VeilThe bee veil is a crucial part of the beekeeper’s protective gear. It is designed to protect the face and neck from bee stings. The veil is typically attached to the hood of the bee suit and is made from a mesh material that allows the beekeeper to see while working with the bees. It is important to ensure that the veil is properly secured before beginning any beekeeping activities.
The bee suit, bee gloves, and bee veil are essential supplies for any beekeeper. They provide the necessary protection against bee stings, allowing the beekeeper to safely and effectively manage their hives. Remember, safety should always be a top priority when it comes to beekeeping.
Introduction to Bee Hive Maintenance
Keeping a beehive healthy and productive requires regular maintenance. This involves routine hive checks and understanding the signs of a healthy hive. Let’s delve into these crucial aspects of bee hive maintenance.
- Importance of Regular Hive Checks
Regular hive checks are essential for successful beekeeping. They help you keep track of the colony’s health and productivity. By inspecting the hive every 7-10 days, you can spot potential problems early and take necessary action. For instance, you might notice a decrease in honey production, which could indicate a problem with the queen bee. Regular checks also allow you to monitor the hive for pests and diseases, which can quickly devastate a colony if left unchecked.
- Signs of a Healthy Hive
Knowing what a healthy hive looks like is key to successful beekeeping. Here are some signs to look out for:
| Sign | Description |
|---|---|
| Active Bees | Healthy hives are bustling with activity, especially on warm, sunny days. Bees should be coming and going regularly, bringing back pollen to the hive. |
| Queen Presence | The queen bee is crucial for the hive’s health. You may not always see her during your checks, but evidence of her presence, like new eggs or larvae, is a good sign. |
| Healthy Brood Pattern | The brood pattern (the arrangement of young bees in the hive) should be compact and consistent. Spotty or irregular patterns could indicate a problem. |
| Ample Food Stores | A healthy hive will have plenty of honey and pollen stored. This is crucial for the bees’ survival, especially during winter months. |
Remember, bee hive maintenance is an ongoing task. By conducting regular hive checks and knowing what a healthy hive looks like, you can ensure your bees remain healthy and productive.
DIY Bee Hive Equipment
When it comes to beekeeping, having the right equipment is crucial. One of the most important pieces of equipment is the fume board. This simple tool is used to gently move bees away from the honey supers when it’s time to harvest the honey. While you can buy a fume board, making one yourself can be a rewarding and cost-effective alternative. Let’s explore how to make a homemade fume board.
Making a Homemade Fume Board
A fume board is a simple piece of equipment that can be made with a few basic materials. Here’s what you’ll need and how to put it all together.
-
- Materials needed for a DIY fume board
Here are the materials you will need:
-
-
- A piece of plywood or stiff cardboard, cut to the size of your hive
- Aluminum foil
- A piece of old carpet or thick fabric, also cut to the size of your hive
- Staple gun or strong adhesive
- Bee repellent (can be purchased from a beekeeping supply store)
- Step-by-step guide to making a fume board
-
Follow these steps to create your own fume board:
-
- Cut your plywood or stiff cardboard and carpet or fabric to the size of your hive.
- Cover one side of the plywood or cardboard with aluminum foil, securing it with a staple gun or strong adhesive.
- Attach the carpet or fabric to the other side of the plywood or cardboard, again using a staple gun or strong adhesive.
- Apply the bee repellent to the carpet or fabric side of the fume board. Be sure to follow the instructions on the repellent’s packaging for best results.
- Your fume board is now ready to use! Place it on top of your hive, fabric side down, when you’re ready to harvest your honey.
Making your own bee hive equipment, like this fume board, can be a great way to save money and get more involved in the beekeeping process. Remember, the key to successful beekeeping is patience, care, and the right tools for the job.
Fume Board Construction
As we delve deeper into the world of beekeeping, we come across a crucial tool that every beekeeper must understand – the fume board. Let’s explore its purpose and why it’s essential in beekeeping.
Understanding the Purpose of a Fume Board
A fume board is a unique tool used in beekeeping. It’s designed to help beekeepers manage their hives effectively. But how does it work? And why is it so important? Let’s find out.
-
- How a fume board works
A fume board is a flat, rectangular piece of equipment that’s placed on top of a bee hive. It’s usually coated with a bee repellant. When the sun heats the fume board, it releases the repellant into the hive. The bees, not liking the smell, move away from it, usually towards the bottom of the hive. This allows the beekeeper to safely access the honeycombs without disturbing or harming the bees.
-
- Why a fume board is essential in beekeeping
Beekeeping isn’t just about harvesting honey. It’s also about ensuring the well-being of the bees. A fume board is essential because it allows beekeepers to manage their hives without causing stress or harm to the bees. By using a fume board, beekeepers can access the honeycombs, check for diseases, or perform maintenance tasks with minimal disturbance to the bees. This promotes a healthy and productive hive.
A fume board is an essential tool in beekeeping. It works by using a bee repellant to gently move the bees away from the top of the hive, allowing the beekeeper to perform necessary tasks. Its use ensures the well-being of the bees, making it a crucial part of responsible and effective beekeeping.
Fume Board Construction Techniques
Building your own fume board for beekeeping can be a rewarding experience. It allows you to have full control over the materials used and the construction process. Here are some important steps to follow when constructing your fume board:
-
- Choosing the right materials
Choosing the right materials is the first step in constructing a fume board. The materials you choose should be durable and safe for the bees. Wood is a common choice for the frame because it is sturdy and long-lasting. For the absorbent pad, you can use felt or any other material that can absorb and release the bee repellent. The cover should be made of a material that can withstand high temperatures, like metal.
-
- Assembling the fume board
Once you have your materials, it’s time to assemble your fume board. Start by cutting the wood to the size of your hive. Then, attach the absorbent pad to one side of the wood. Make sure it’s securely attached so it won’t fall off when in use. Next, attach the metal cover to the other side of the wood. Make sure it’s secure and covers the entire surface. Finally, apply a handle to the top of the metal cover for easy handling.
-
- Ensuring the fume board is safe for bees
It’s crucial to ensure that your fume board is safe for your bees. Avoid using any toxic materials in its construction. Also, make sure that the bee repellent you use is safe for bees. Always follow the manufacturer’s instructions when applying the repellent to the absorbent pad. Regularly inspect your fume board for any damage or wear and tear that could harm your bees.
By following these steps, you can create a fume board that is effective and safe for your bees. Remember, beekeeping is not just about harvesting honey, it’s also about caring for your bees and ensuring their environment is safe and conducive for them to thrive.
Beekeeping Fume Board Techniques
Understanding how to use a fume board effectively is a key skill in beekeeping. This tool can make hive maintenance much easier and safer for both you and your bees.
Using a Fume Board for Hive Maintenance
A fume board is a handy tool for beekeepers. It helps in managing the bees during hive maintenance. Let’s explore when and how to use a fume board effectively.
-
- When to use a fume board
Fume boards are best used during warm weather when the temperature is above 70 degrees Fahrenheit. This is because the heat helps to evaporate the bee repellent, encouraging the bees to move away from the top of the hive. It’s also a good idea to use a fume board when you need to inspect the hive or harvest honey, as it can help to minimize disturbances to the bees.
-
- How to use a fume board effectively
First, apply a bee repellent to the underside of the fume board. Then, place the fume board on top of the hive, replacing the hive’s lid. The smell of the repellent will encourage the bees to move down into the hive, away from the top. Leave the fume board on for about 5-10 minutes, then remove it and proceed with your hive maintenance. Remember to handle the fume board carefully to avoid agitating the bees.
By using a fume board correctly, you can make your beekeeping tasks easier and more efficient. It’s a simple tool, but it can make a big difference in your beekeeping experience.
Tips and Tricks for Using a Fume Board
Using a fume board can be a game-changer in your beekeeping journey. It can make hive maintenance a breeze, but only if used correctly. Here are some tips and tricks to ensure you’re getting the most out of your fume board.
-
- Ensuring the Fume Board is Effective
For a fume board to be effective, it’s crucial to use the right bee repellent. The repellent should be strong enough to drive the bees down into the hive but gentle enough not to harm them. A popular choice among beekeepers is almond oil. However, remember to use it sparingly as too much can cause the bees to become agitated.
Another tip is to use the fume board when the temperature is above 70 degrees Fahrenheit. This is because the heat helps to spread the scent of the repellent, making it more effective.
-
- Maintaining Your Homemade Fume Board
Maintaining your homemade fume board is just as important as using it correctly. Regular cleaning is essential to prevent the buildup of old repellent, which can deter the bees from returning to the hive.
To clean your fume board, simply wipe it down with a damp cloth after each use. If you notice any damage to the board, such as cracks or holes, repair it immediately to prevent the bees from escaping.
Finally, store your fume board in a cool, dry place when not in use. This will help to prolong its lifespan and keep it in good working condition for your next hive maintenance session.
Remember, the key to successful beekeeping is patience and practice. So don’t be discouraged if you don’t get it right the first time. Keep trying, and soon you’ll be a pro at using a fume board!
Conclusion: The Benefits of DIY Beekeeping
As we draw our discussion on DIY beekeeping to a close, it’s important to reflect on the numerous benefits that this hobby offers. From cost savings to the satisfaction derived from crafting your own equipment, DIY beekeeping is a rewarding venture that is worth considering.
-
- Cost savings of DIY beekeeping
One of the most significant benefits of DIY beekeeping is the potential for cost savings. Purchasing pre-made beekeeping equipment can be quite expensive. However, with DIY beekeeping, you can significantly cut down on these costs. For instance, a pre-made bee hive can cost anywhere from $150 to $200. On the other hand, you can build your own hive for less than $50. That’s a potential saving of over 75%! This cost-effectiveness extends to other beekeeping tools and supplies, making DIY beekeeping a financially smart choice.
-
- The satisfaction of crafting your own beekeeping equipment
Aside from the financial benefits, DIY beekeeping also offers a sense of satisfaction that is hard to match. There’s a certain pride that comes from crafting your own beekeeping equipment. Whether it’s building a hive from scratch or creating a custom fume board, these DIY projects can be incredibly fulfilling. They not only enhance your beekeeping skills but also provide a tangible sense of achievement. As the famous author Mark Twain once said, “The secret of getting ahead is getting started.” So why not start your DIY beekeeping journey today?
DIY beekeeping is more than just a hobby. It’s an opportunity to save money, learn new skills, and experience the joy of creating something with your own hands. Whether you’re a seasoned beekeeper or a novice looking to get started, the benefits of DIY beekeeping are clear. So why not give it a try? You might just find it to be the buzz-worthy hobby you’ve been searching for!